EASY FARMHOUSE DECOR: FLOWER BOX PLANTER
Does anyone else love farmhouse decor? It is everywhere you look. So this week I am going to channel my inner Joanna Gaines and show you a couple of different ways of creating some beautiful farmhouse decor by using a simple wooden box as the foundation for these projects.
For today’s project I am going to show you how to create a beautiful flower box planter with just a few supplies. Below are the items I used to create today’s project:
- Wooden Box
- Flowers
- Burlap
- Twine
- Ziploc Bags
I found this wooden box at a local auction. It must have been some type of tool box, because there were a few tools inside. But I saw more than just a tool box. Apparently no one saw my vision….thank goodness and I grabbed it for only a couple of bucks….tools included. It measures 30 inches long and 8 inches wide.
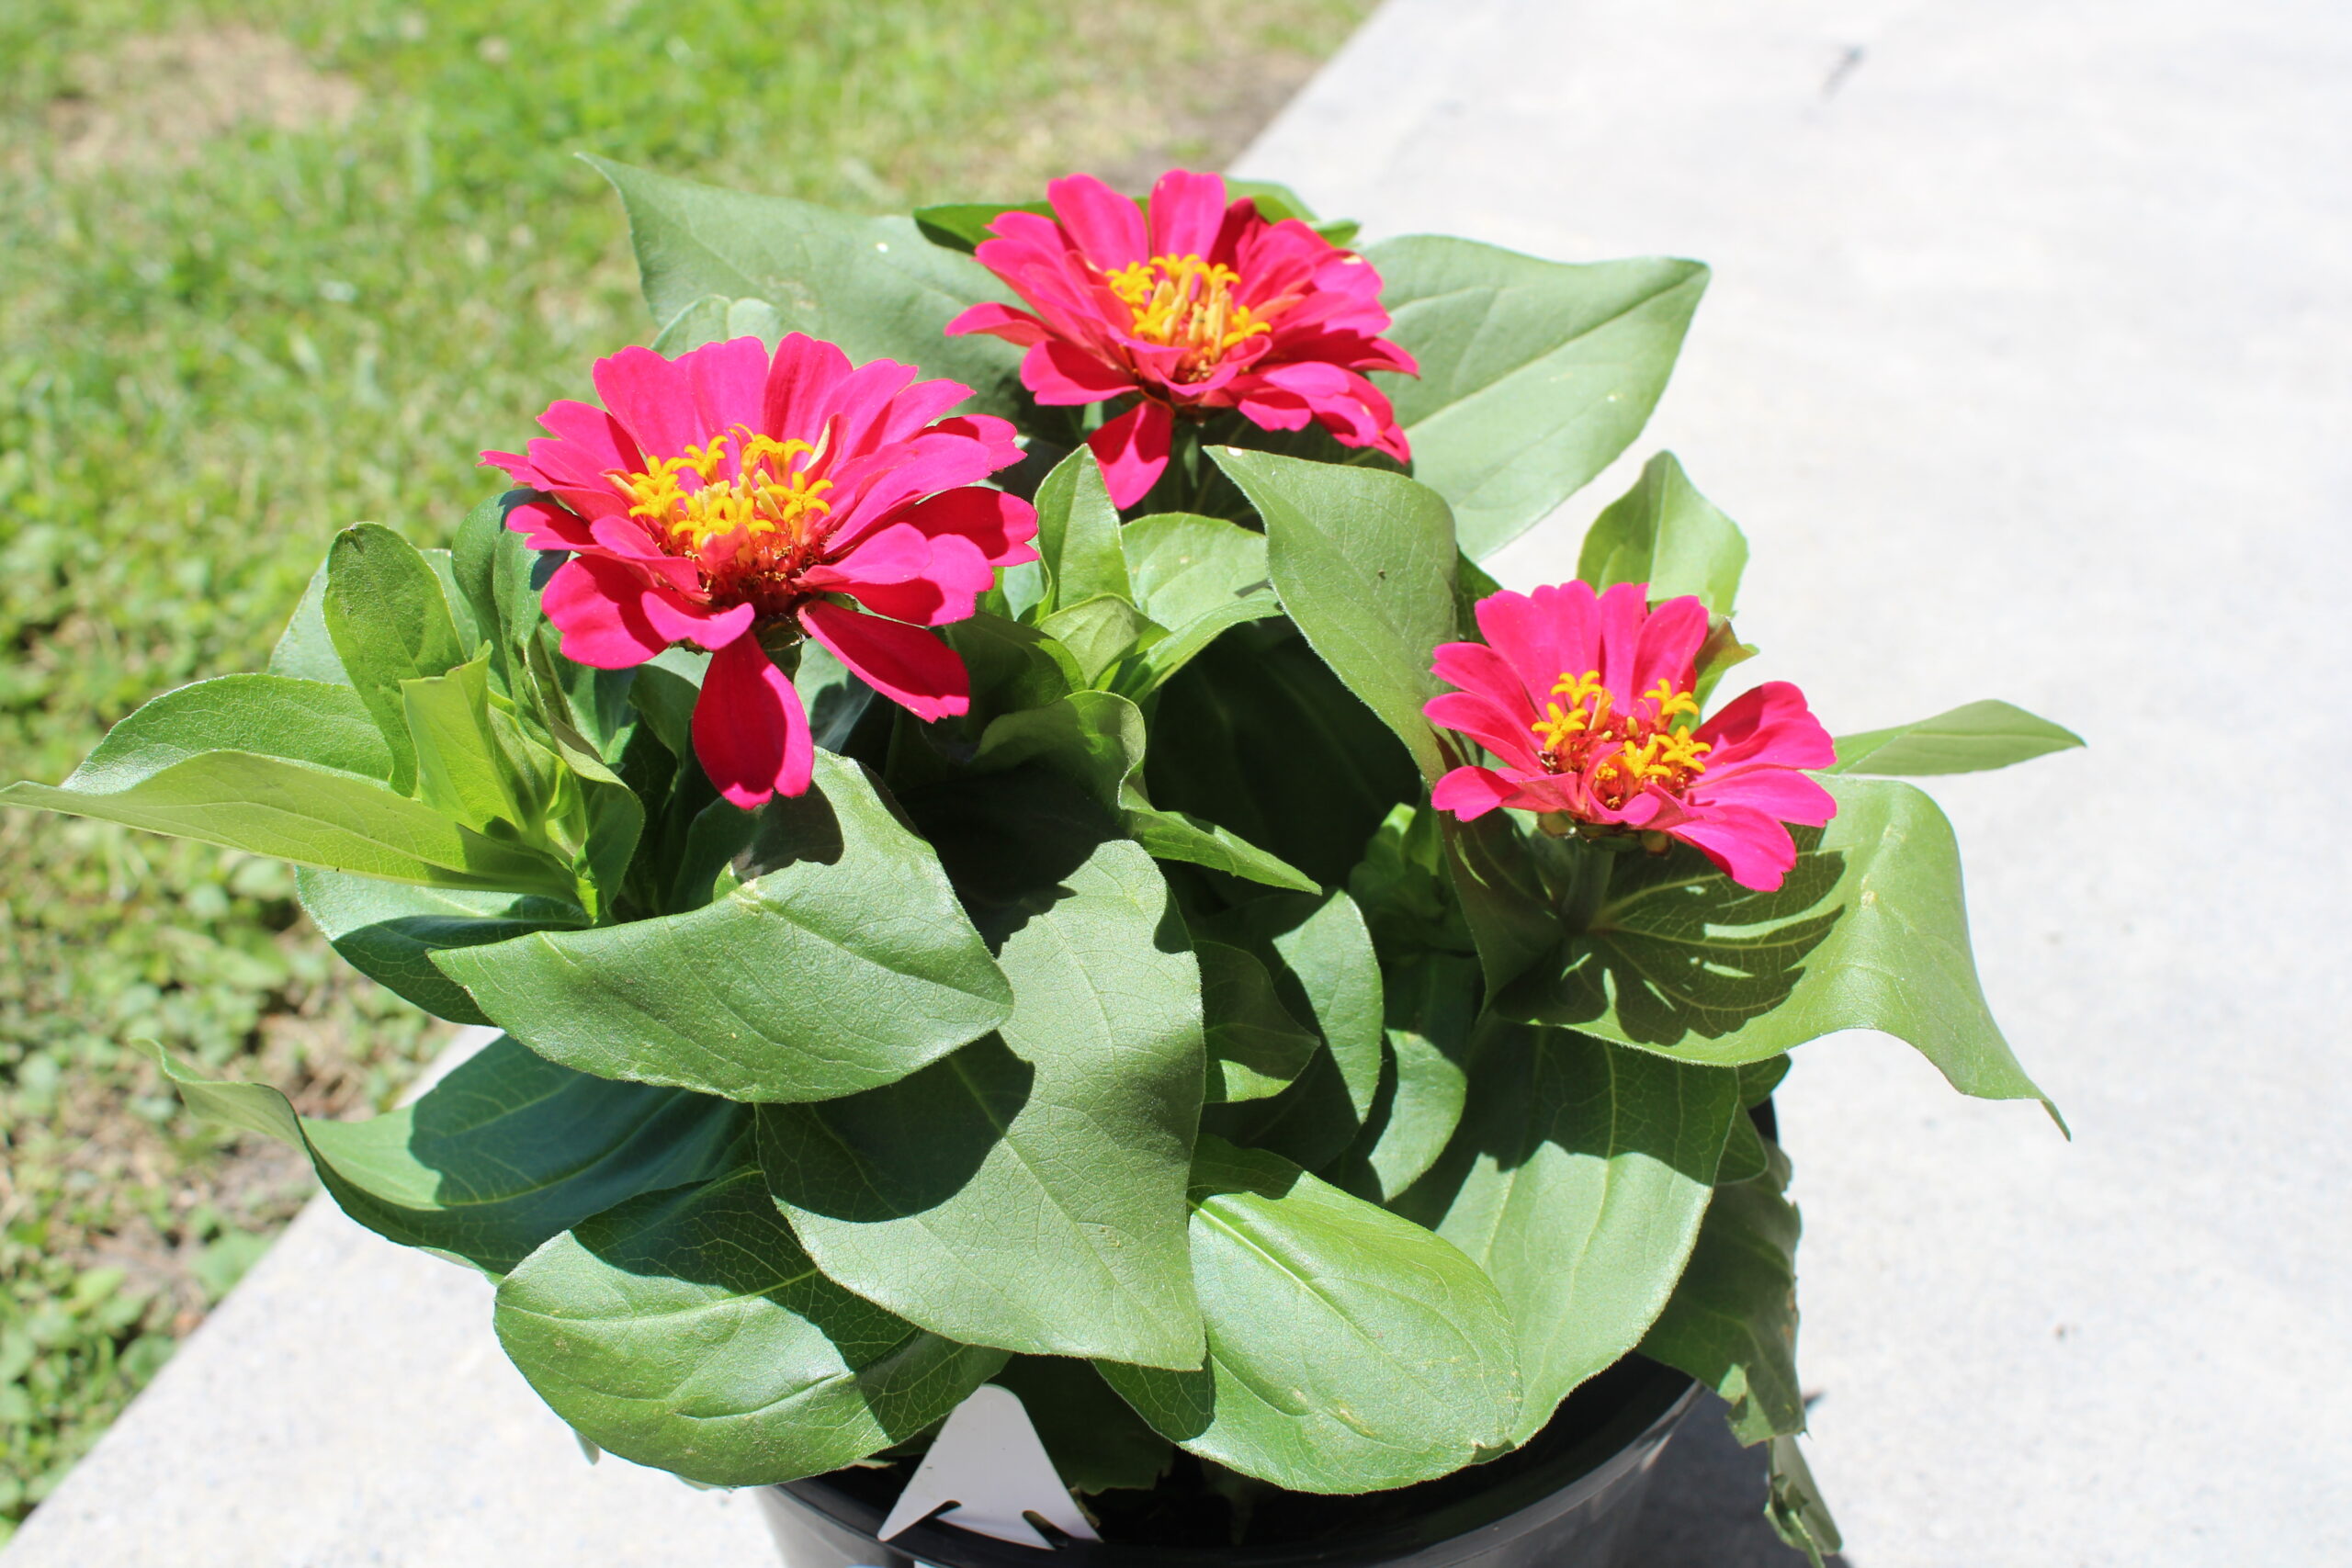
Next step is to pick the flowers. I found these Magellan Zinnia’s at Lowe’s. I thought they had the right amount of flowers and green leaves for the arrangement I wanted to create.

These were in a 6 inch pot, so I purchased four of them so they would fit perfectly in the wooden box. You can choose whatever types of flower or flowers you enjoy. Just remember, that whatever type of container you are using you need to measure the length and width to make sure you get the correct size and amount of flower pots.
For the next step, I took gallon size Ziploc bags and put each of the flower pots inside the bag. That way you can water the pots and the excess water will collect in the ziploc bag. I had to split the corner of my ziploc bag so that the pot would fit into the bag. Click here to read about Crafting Beauty: The Art of Creating Great Container Flower Pots.

Don’t worry that the ziploc bag doesn’t fit just perfectly. It will all be covered and you will never know it. However, if you are just going to use this as a one day display for say a wedding or other event, you could just skip this step.
Next, you will need some burlap squares. These squares are 20″ x 20″. I purchased mine from Amazon. They came in a 12-pack.
Next, you will take your container pot and place it in the middle of the burlap square.

Next, you will bring all four corners of the burlap up to meet in the middle of the container pot.
Since I didn’t have an extra set of hands, I used a binder clip to hold the corners in place….#genius.
Now you are ready to secure the burlap around the container pot. I took a piece of twine about 12 to 14 inches long and tied it around the pot.
I had this craft twine on hand and just used it. You could use any type of twine or any other ribbon or rope of your choice.
So that your container pot and ziploc bag don’t show, I took the twine above the edge of the container.
I tied a knot in my twine and then removed the binder clip and fluffed out the burlap.
Continue this process for the remaining three container pots and you are ready to display them in your