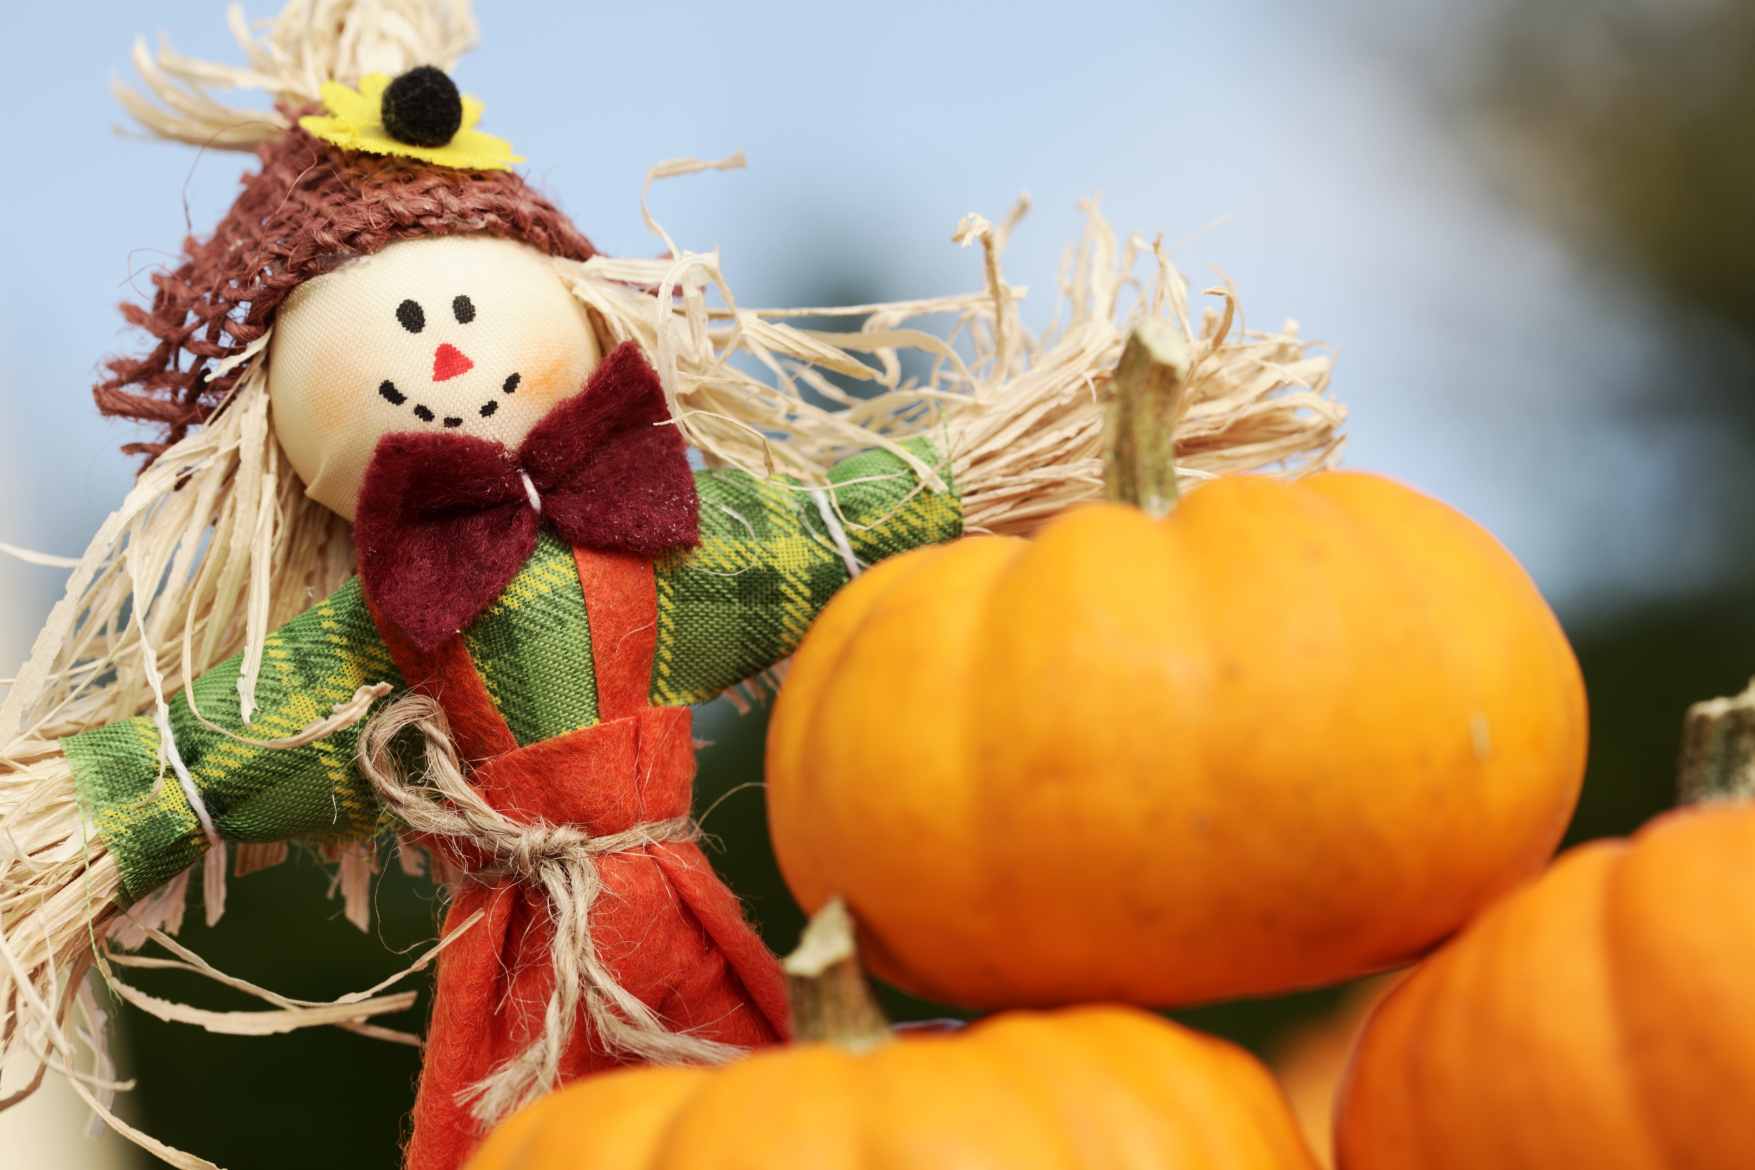
Crafting Cozy Charm: How to Make an Easy Fall Wood Scarecrow
As the leaves begin to turn and the air grows crisp, it’s time to embrace the cozy charm of fall and add some seasonal flair to your home decor. One delightful way to celebrate the autumn season is by creating an easy fall wood scarecrow. This charming DIY project is not only simple to make but also adds a touch of whimsy and warmth to your indoor or outdoor space. So gather your supplies and let’s get crafting!
Materials You’ll Need:
- Wooden board or plank (approximately 3 feet tall)
- Saw (to cut the wood to size, if necessary)
- Sandpaper (to smooth any rough edges)
- Acrylic paint in fall colors (such as orange, brown, yellow, and red)
- Paintbrushes
- Black permanent marker or paint pen
- Straw or raffia
- Glue gun and glue sticks
- Fabric scraps (for the scarecrow’s clothes)
- Scissors
Step-by-Step Instructions:
- Prepare Your Wooden Board: If your wooden board or plank is not already the desired size, use a saw to cut it to approximately 3 feet tall. Then, use sandpaper to smooth any rough edges.
- Paint Your Scarecrow: Begin by painting your wooden board with acrylic paint in fall colors. You can create a rustic look by using a dry brush technique or layering different shades to add depth and dimension. Let the paint dry completely before moving on to the next step.
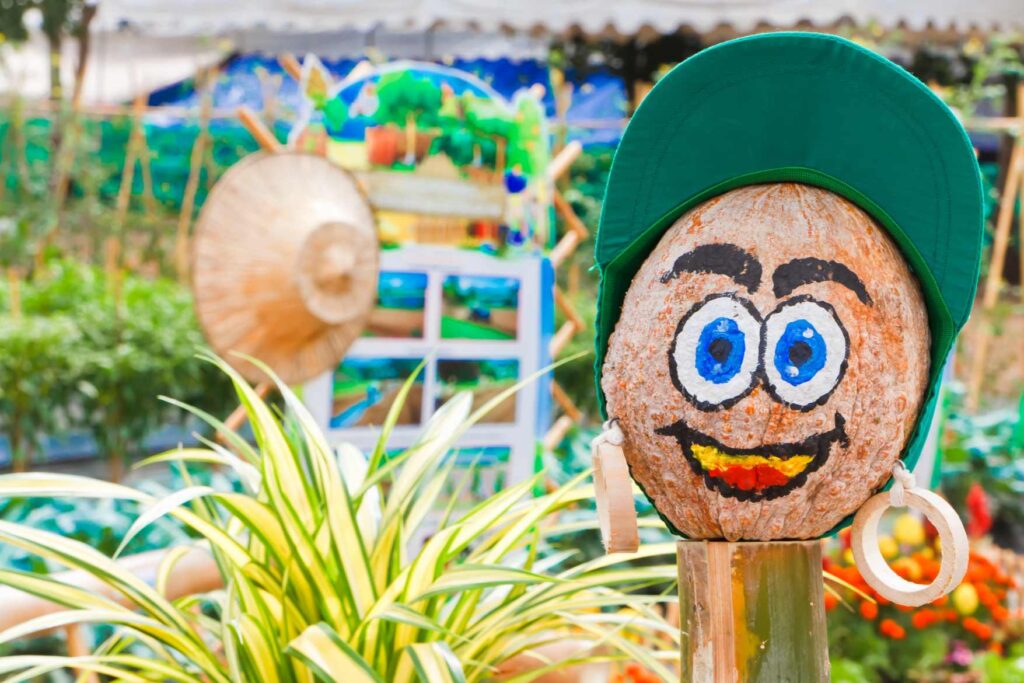
- Add Facial Features: Using a black permanent marker or paint pen, draw on your scarecrow’s facial features, including eyes, a nose, and a mouth. Get creative and give your scarecrow a friendly or mischievous expression – it’s entirely up to you!
- Create the Hair: Cut a handful of straw or raffia to the desired length for your scarecrow’s hair. Use a glue gun to attach the straw or raffia to the top of the wooden board, creating a fun and textured hairstyle.
- Dress Your Scarecrow: Now it’s time to dress your scarecrow! Cut fabric scraps into small pieces to create clothes for your scarecrow. You can fashion a simple shirt, pants, and hat, or get creative and add embellishments like buttons or patches. Use a glue gun to attach the fabric scraps to your scarecrow, layering them to create depth and texture.
- Finishing Touches: Once your scarecrow is fully dressed, take a step back and admire your handiwork! You can add additional details like a belt made from twine or ribbon, or even accessories like a mini pumpkin or a small bouquet of fall flowers.
- Display Your Creation: Find the perfect spot to display your easy fall wood scarecrow – whether it’s on your front porch, in your garden, or as a festive centerpiece indoors. Your charming creation is sure to delight family and friends alike and bring a touch of autumn cheer to your home decor. Click here to read about DIY: “TRICK OR TREAT” DOOR HANGER.
Embrace the Spirit of Fall
With just a few simple materials and a dash of creativity, you can craft your own easy fall wood scarecrow to celebrate the beauty and warmth of the autumn season. Whether you’re a seasoned crafter or a novice DIY enthusiast, this delightful project is sure to add a cozy touch to your fall decor and fill your home with the spirit of the season.